Charlotte winters are mild compared to what they deal with up in the Northeast, but that does not mean your garage door gets a free pass from October through March. We get enough cold snaps, ice events, and wild temperature swings to cause real problems if your door is not prepared. Winterizing a garage door takes about an hour and costs next to nothing. But most people skip it, and by January they are dealing with a frozen seal, a sluggish opener, or a draft pouring into their house through the garage wall.
Here is everything you need to do to winterize your garage door before Charlotte's cold months hit. Most of this is stuff you can handle on a Saturday afternoon with tools you already own.
Why Charlotte Winters Are Harder on Garage Doors Than You Think
Charlotte sits in the Piedmont region, which gives us a winter climate that is sneaky. We do not get buried in snow, so people assume there is nothing to worry about. But what we do get is constant temperature cycling. A typical Charlotte January week might go from 55 degrees on Tuesday to 24 degrees on Thursday night, then back up to 50 by Saturday. That kind of swing is tough on mechanical equipment.
Metal parts expand and contract with temperature changes. Lubricants thicken in the cold and thin out when it warms up. Rubber weatherstripping stiffens below freezing and softens again when the sun hits it. This repeated cycle wears things out faster than a steady cold climate would. Add in the occasional ice storm -- Charlotte averages one or two significant ice events per winter -- and you have a recipe for garage door problems if you have not done any prep work.
Homeowners from Mooresville down to Fort Mill deal with the same pattern. The Lake Norman corridor tends to get slightly colder temperatures than the city center because of the elevation and open water effect, so if you are up near Davidson or Cornelius, winter prep matters even more.
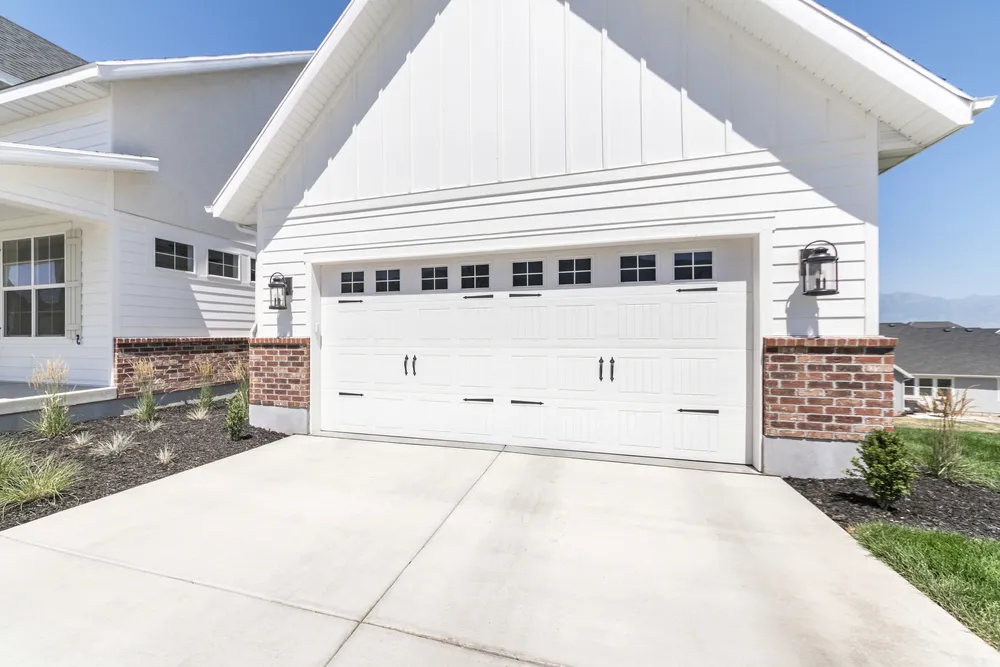
Inspect and Replace the Weatherstripping
This is the most important winterizing step, and the one most people overlook. The rubber seal along the bottom of your garage door is the main barrier between the inside of your garage and the outside air. When it is in good shape, it forms a tight seal against the concrete floor. When it is cracked, torn, flattened, or pulling away from the door, cold air pours in underneath.
Here is how to check it. Close your garage door during the daytime and turn off the lights in the garage. Look along the bottom edge and the sides. If you can see daylight coming through, the seal is not doing its job. Also run your hand along the bottom seal and feel for sections that are hard, brittle, or cracked. Rubber that has been baking in Charlotte's summer heat for a few years gets stiff and loses its flexibility, which means it cannot conform to the floor surface anymore.
Replacing a bottom seal is a simple DIY job that costs $20 to $40 for the material. Most bottom seals slide into a retaining channel on the bottom panel of the door. You pull the old one out and slide the new one in. The whole job takes about 30 minutes.
While you are at it, check the weatherstripping along the sides and top of the door frame. This is usually a vinyl or rubber strip nailed or screwed to the door jamb. Look for gaps, cracks, or sections that have pulled away from the frame. Replacement side and top seals are inexpensive and easy to install with a few screws or nails.
Lubricate All Moving Parts
Cold weather makes lubricant thicker and less effective. If your garage door is running on whatever was last applied back in the spring, it is going to start moving slower and sounding louder once temperatures drop. A proper lubrication before winter keeps everything moving smoothly through the cold months.
Use a silicone-based garage door lubricant or white lithium grease. Do not use WD-40 -- it is a solvent, not a lubricant, and it will actually strip existing grease off your parts and attract dirt. Apply lubricant to these components:
- Hinges: Hit the pivot points on every hinge where the panels connect. Work the door up and down a few times to distribute the lubricant.
- Rollers: If you have steel rollers, lubricate the bearings and the stems. If you have nylon rollers, just do the stems -- the nylon wheels do not need lubrication and can actually attract grime if you spray them.
- Springs: Coat the torsion spring coils with a light layer of lubricant. This prevents rust and helps the spring flex smoothly in cold temperatures. For more on spring maintenance and what to watch for, see our guide to garage door spring and cable safety.
- Bearing plates and pulleys: The round plates at the top corners of the door where the cables and springs attach have bearings inside. Give them a few sprays.
- Lock mechanism: If your door has a manual lock (the T-handle on the outside), lubricate the lock cylinder and the latch bars. A frozen lock on a 25-degree morning is not a good start to the day.
Do not lubricate the tracks. This is a common mistake. Greasy tracks attract dirt and cause the door to slide unevenly. Wipe the tracks clean with a rag instead.
Test the Door Balance
A balanced garage door puts minimal strain on the opener, the springs, and the hardware. An unbalanced door makes the opener work harder, which is especially noticeable in cold weather when everything is already stiffer than normal.
To test the balance, close the door and pull the manual release cord (the red handle hanging from the opener rail). Now lift the door by hand to about waist height and let go. A properly balanced door will stay roughly where you left it, maybe drifting a few inches in either direction. If it drops to the floor or shoots up to the ceiling, the springs are out of adjustment and the opener has been compensating for the imbalance every time it runs.
Do not try to adjust the springs yourself. Torsion springs are under extreme tension and can cause serious injury if handled incorrectly. If the balance test shows a problem, call a professional to adjust or replace the springs before winter. A balanced door going into the cold months will operate more reliably and put less wear on the opener motor.
Check the Opener and Backup Battery
Cold temperatures affect garage door openers in a couple of ways. The motor has to work harder against thickened lubricant and stiffer seals. The force settings that worked fine in September might not be enough in January, causing the door to stop short or reverse unexpectedly.
Before winter, run the door through a few full cycles and watch for any hesitation, stalling, or unusual sounds. If the door is struggling to close all the way, you may need to adjust the close-force setting on the opener. Most openers have two adjustment screws on the back or side of the motor unit -- one for open force and one for close force. A small clockwise turn increases the force. Make tiny adjustments and test after each one.
If your opener has a backup battery, check that it is still holding a charge. Charlotte's winter storms can knock out power, and a dead backup battery means you are stuck manually lifting a heavy door in the dark. Most backup batteries last three to five years. If yours is older than that, replace it now rather than finding out it is dead during an ice storm at 6 AM.
If your opener is more than 10 to 12 years old and already struggling, winter is going to make things worse. It might be time to look at a new opener before the cold sets in rather than dealing with a breakdown when you need it most.
Address Insulation Gaps
If your garage is attached to your house -- and most garages in Charlotte neighborhoods like Ballantyne, Matthews, and Huntersville are -- then the temperature inside the garage directly affects your heating bill. An uninsulated garage door lets cold air pour in, which makes the wall between the garage and your living space work harder to keep heat inside.
If you have an older non-insulated garage door, you have a few options. The most effective long-term fix is replacing the door with an insulated model. A polyurethane-insulated door with an R-value of 12 to 18 will keep your garage 10 to 20 degrees warmer than a bare steel door during cold snaps. We covered the full breakdown in our insulated vs non-insulated garage door comparison.
If a new door is not in the budget right now, you can add aftermarket insulation panels to your existing door. These are rigid foam boards (polystyrene or polyisocyanurate) that you cut to fit each panel section and either tape or clip in place. Kits designed for standard garage doors cost $50 to $150 and take a couple of hours to install. They will not match the performance of a factory-insulated door, but they are a noticeable improvement over bare metal.
While you are thinking about insulation, check the walls of your garage too. If you can see bare studs and drywall with no insulation in the walls, that is a bigger heat loss than the door in most cases. But the door is the easiest starting point because it is the largest single surface area.
Protect Against Ice and Frozen Seals
Charlotte gets ice. Not every winter, but often enough that you need a plan for it. Ice storms in the Piedmont region tend to hit in January and February, and when they do, the temperatures can stay below freezing for two or three days straight. That is long enough for water to freeze your garage door seal to the concrete floor.
When a rubber bottom seal freezes to a wet floor, trying to open the door can rip the seal right off the door or, worse, damage the bottom panel. Here is how to prevent it:
- Apply silicone spray to the bottom seal. A thin coat of silicone lubricant on the rubber surface prevents water from bonding to it when it freezes. Do this in late fall before the first freeze threat. Reapply every month or two during winter.
- Keep the floor dry where the seal contacts. If water puddles on your garage floor near the door, the seal is going to freeze to it. Fix any drainage issues, and sweep standing water away from the door threshold before a freeze.
- If the seal does freeze, do not force the door open. Use a heat gun, hair dryer, or even warm water to melt the ice along the bottom seal before activating the opener. Forcing a frozen door open can damage the seal, the bottom panel, the cables, and the opener.
Also watch your driveway grade. Many homes in the Charlotte area, especially in hilly neighborhoods around Weddington and Marvin, have driveways that slope toward the garage. When ice melts and refreezes, water can run under the door and create a sheet of ice on the garage floor. A threshold seal or a small rubber dam across the front of the door opening can redirect water away.
Tighten Hardware and Inspect the Tracks
Before winter, go over all the visible hardware with a socket wrench. Check the bolts on the hinges, the roller brackets, the opener mounting bracket, and the bracket that connects the opener arm to the top panel. After a year of daily operation and a summer of heat expansion, hardware loosens up. Snug everything back into place.
Look at the tracks on both sides of the door. They should be straight, parallel, and securely fastened to the wall with their mounting brackets. Check for dents, bends, or spots where the track has been bumped (backing into the track with a car is more common than people like to admit). A slightly misaligned track can cause the door to bind or stick, and cold weather makes that problem worse because metal contracts and tolerances get tighter.
Clean any debris out of the tracks. Leaves, dirt, small rocks, and dead bugs accumulate in the track channels over the course of a year. Wipe them out with a rag. A clean, straight track is one less thing to worry about when temperatures drop.
Create a Simple Winter Checklist
You do not need to remember all of this off the top of your head. Here is a checklist you can run through in about an hour, ideally in late October or early November before Charlotte's first real cold snap:
- Inspect bottom seal for cracks, gaps, and stiffness -- replace if needed
- Check side and top weatherstripping -- repair or replace gaps
- Lubricate hinges, rollers, springs, bearing plates, and lock
- Test door balance with the manual release
- Run the opener through several cycles and check for hesitation
- Test the auto-reverse safety feature
- Check the backup battery on the opener
- Tighten all visible hardware
- Clean and inspect the tracks
- Apply silicone spray to the bottom seal
- Check garage door insulation level -- consider upgrades if needed
If you go through this list and everything checks out, your garage door is ready for whatever Charlotte's winter throws at it. If you find problems -- a bad seal, an unbalanced door, a struggling opener -- it is better to deal with them now than to wait until you are standing in a freezing garage on a January morning wondering why the door will not open. For help with any of these issues, our full garage door maintenance guide covers what you can handle yourself and when to bring in a professional.
Need a hand getting your garage door ready for winter? Call to connect with a Charlotte-area garage door company that can handle a full winter inspection and tune-up. A little prep now saves a lot of headaches when the cold rolls in.